


This facility is equipped with high-end instrumentation essential for material characterization techniques aimed at revealing the heterogeneity of morphology and microstructures of the material. We also use techniques to measure the density, strain, acoustic, damage, and resistance of materials subjected to mechanical or thermal loading.
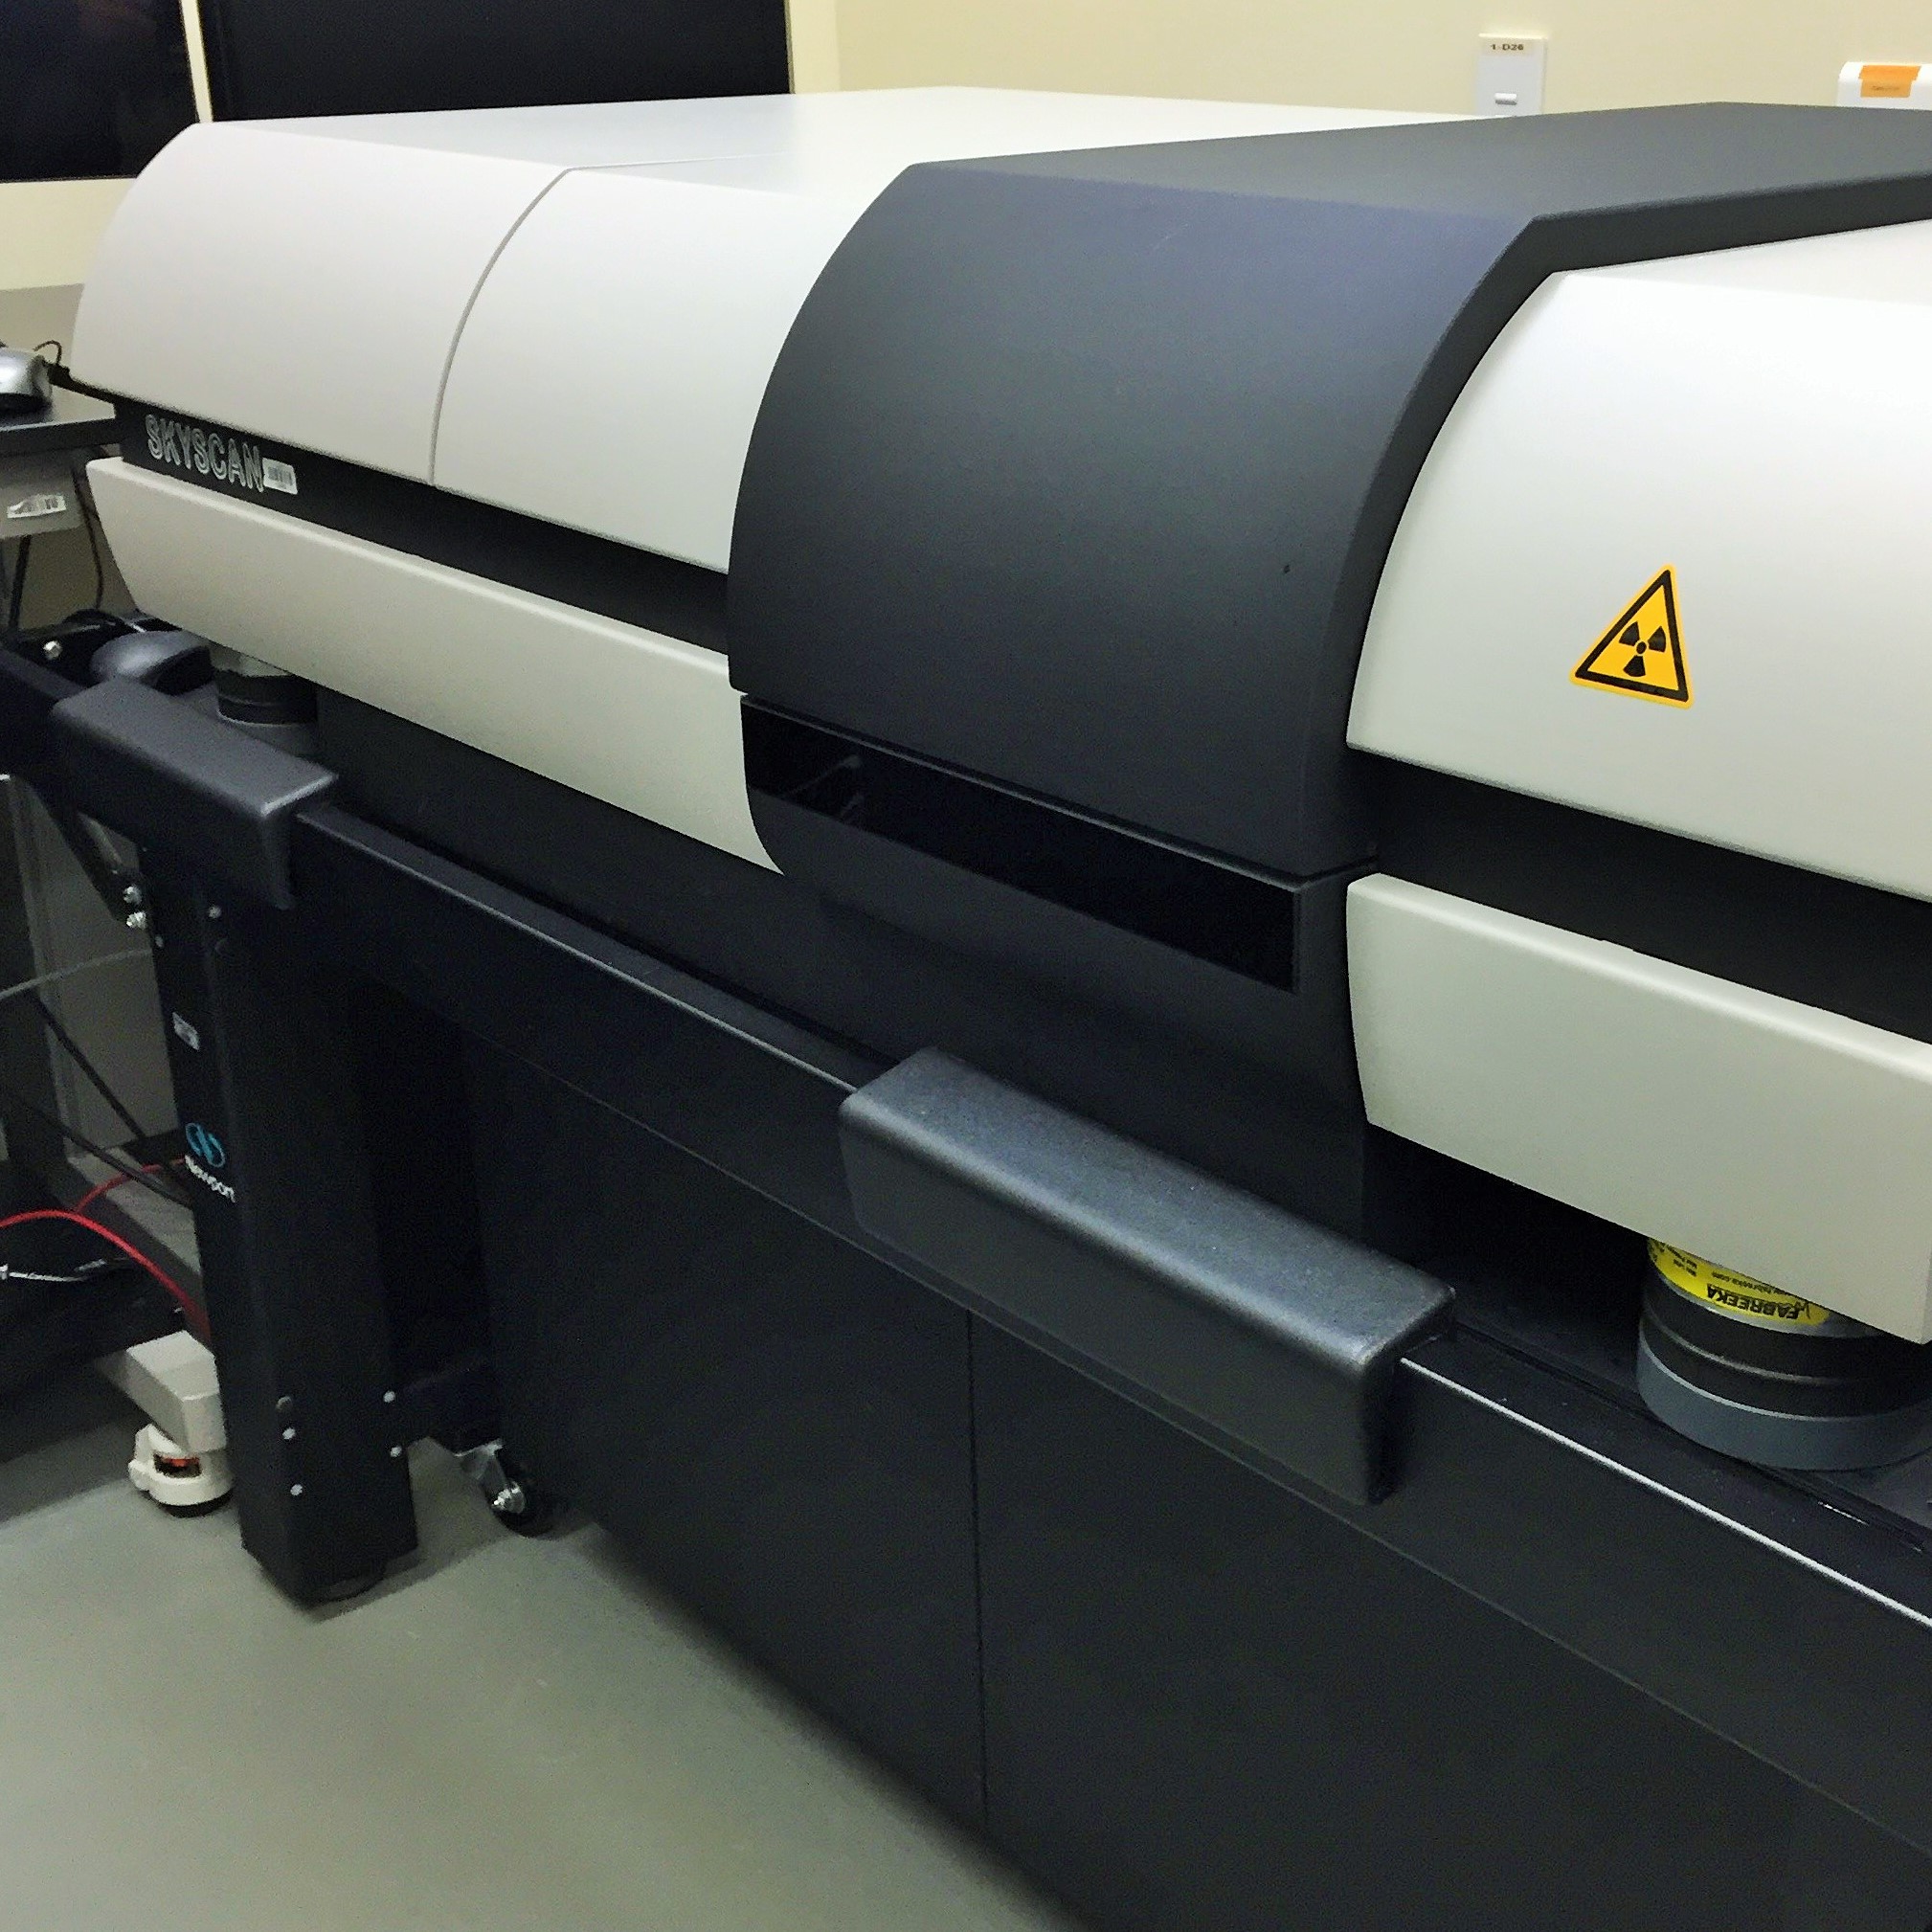 | 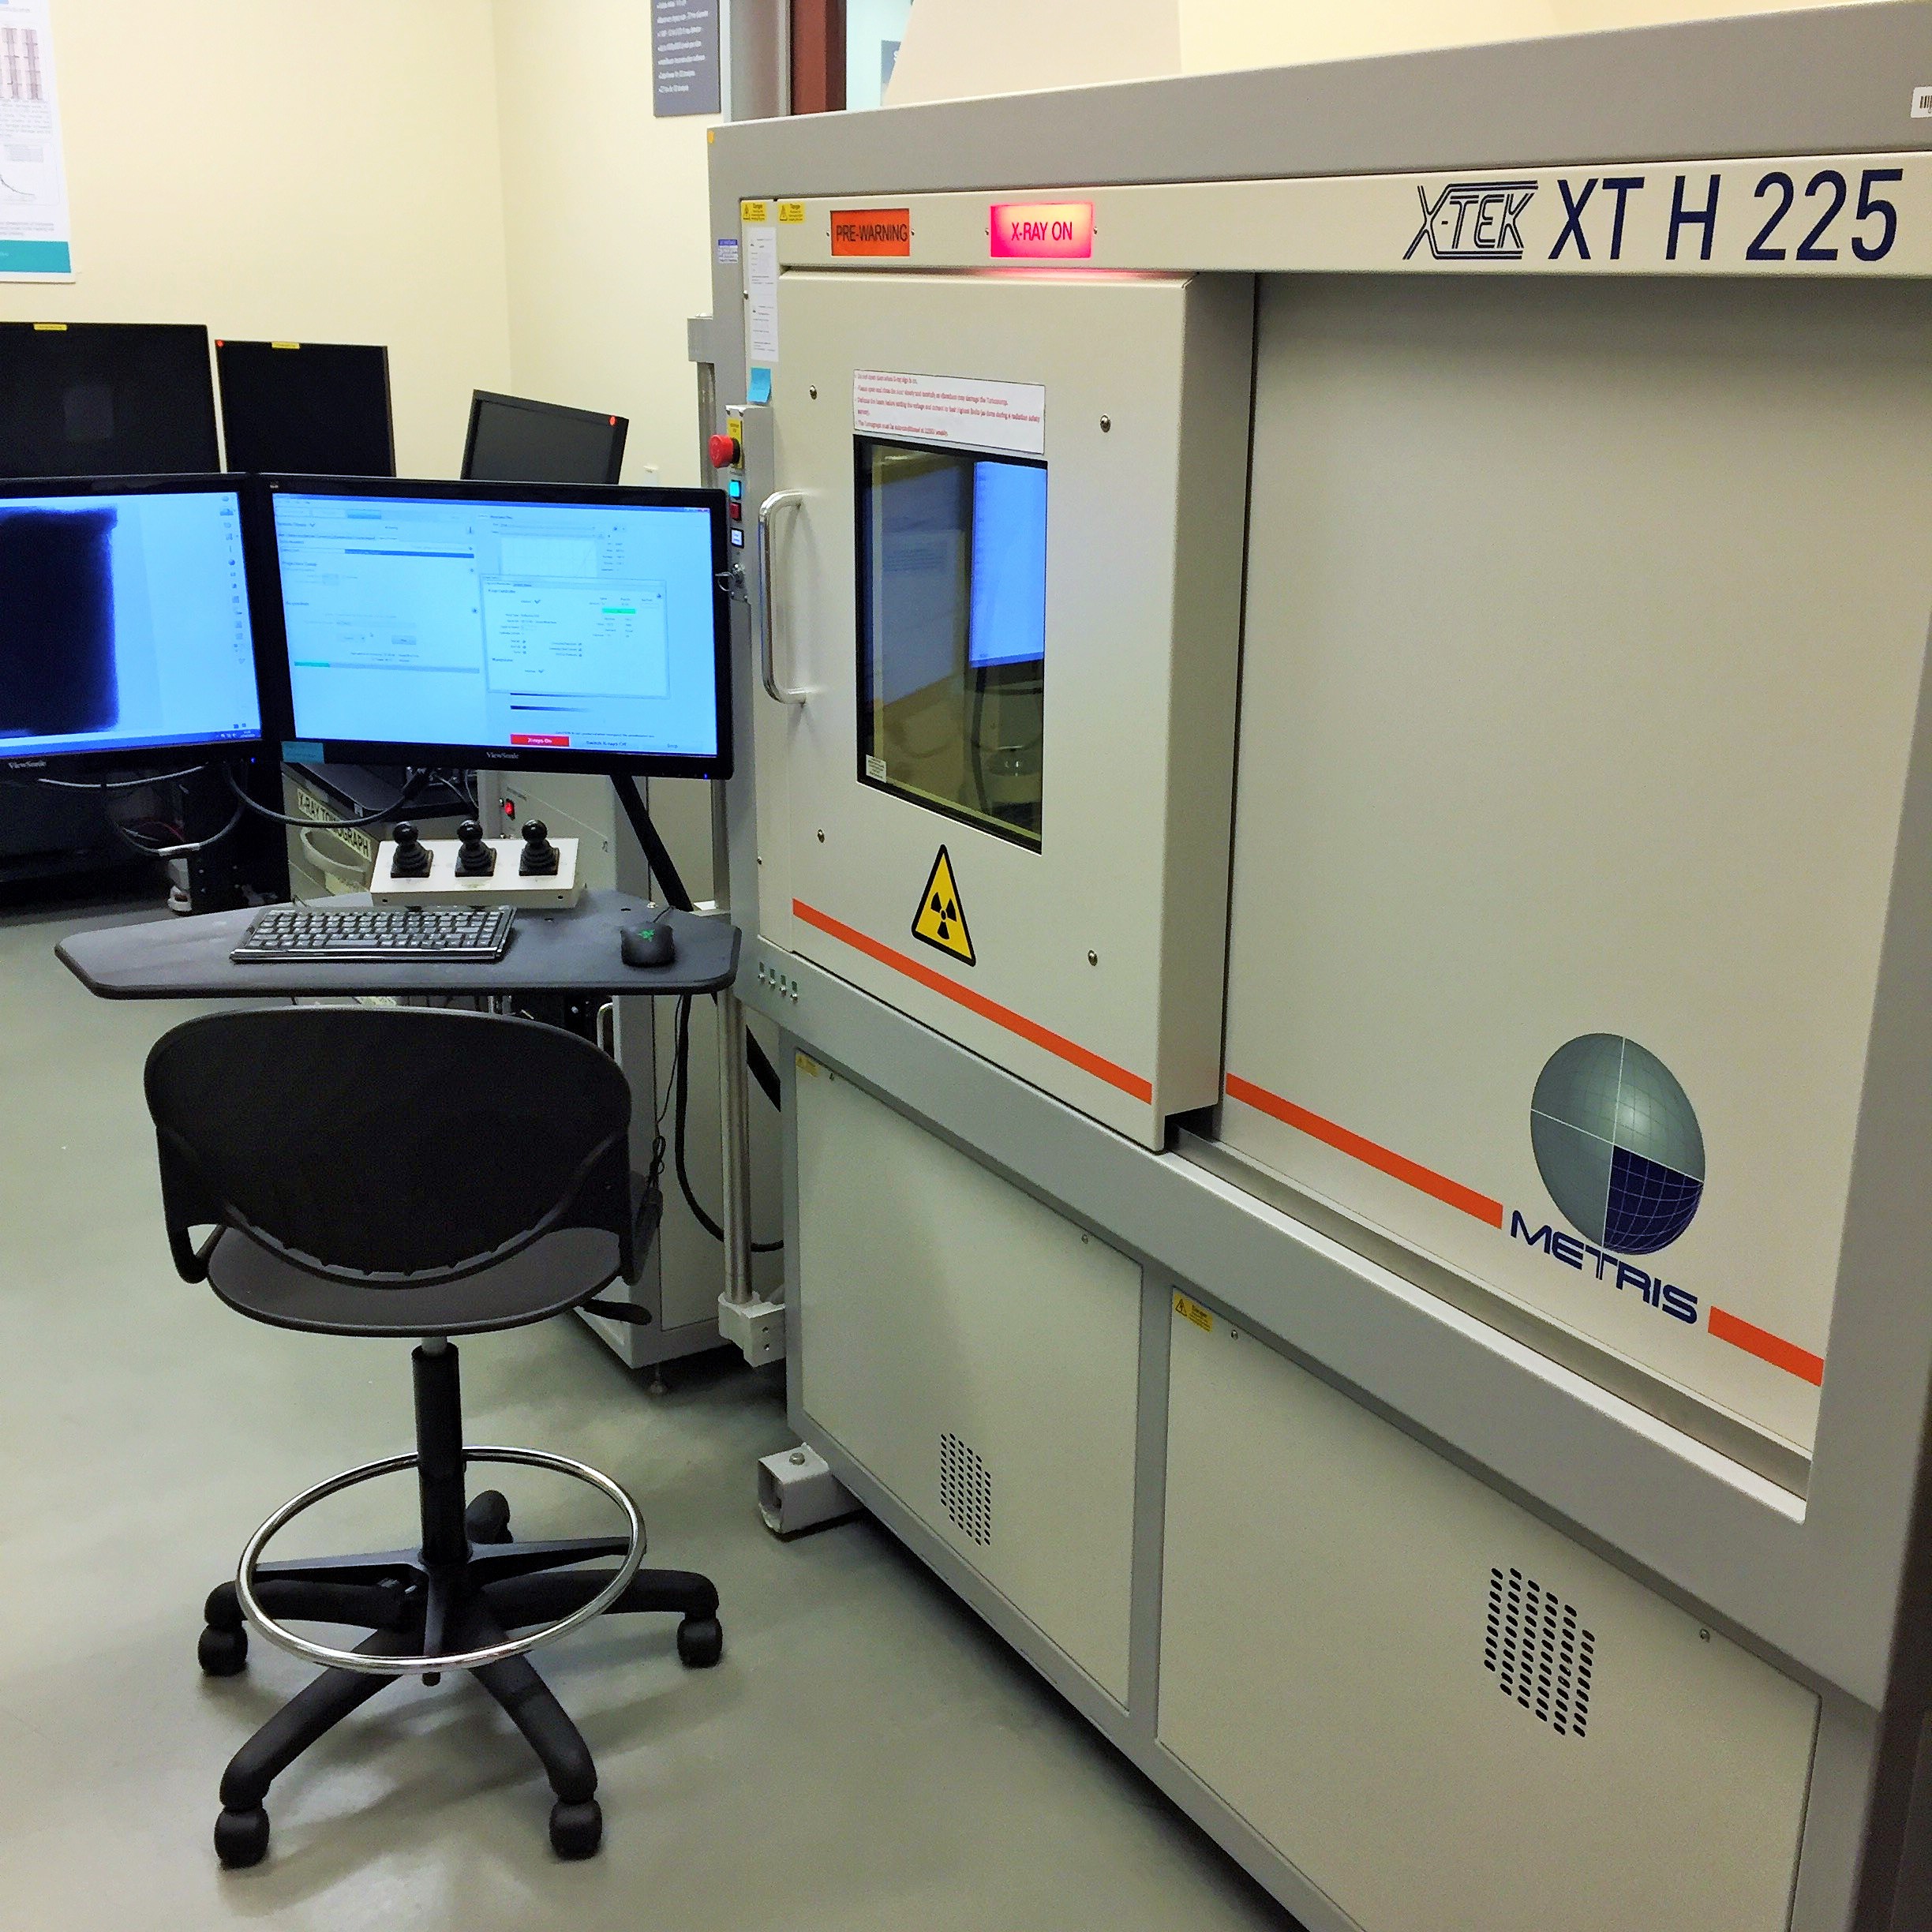 | |
Micro-computed tomography | Micro-computed tomography | |
Brand: SkyScan Description: This micro CT system is used to create an internal 3D image of a structure. It captures shadows from an X-ray source in multiple directions and reconstructs the internal microstructure. This scanner has a 50 mm field of view and an 11 MP X-ray camera; the X-ray source strength varies from 20-100 kV (10 W). It can detect features of 1 μm in size. | Brand: Nikon Description: This system uses X-ray shadows of an object to reconstruct a 3D microstructure digitally. It uses a 225 kV microfocus X-ray source and can detect features of 3 μm. It can hold larger samples than the SkyScan micro-CT system. Link: Nikon micro-CT |
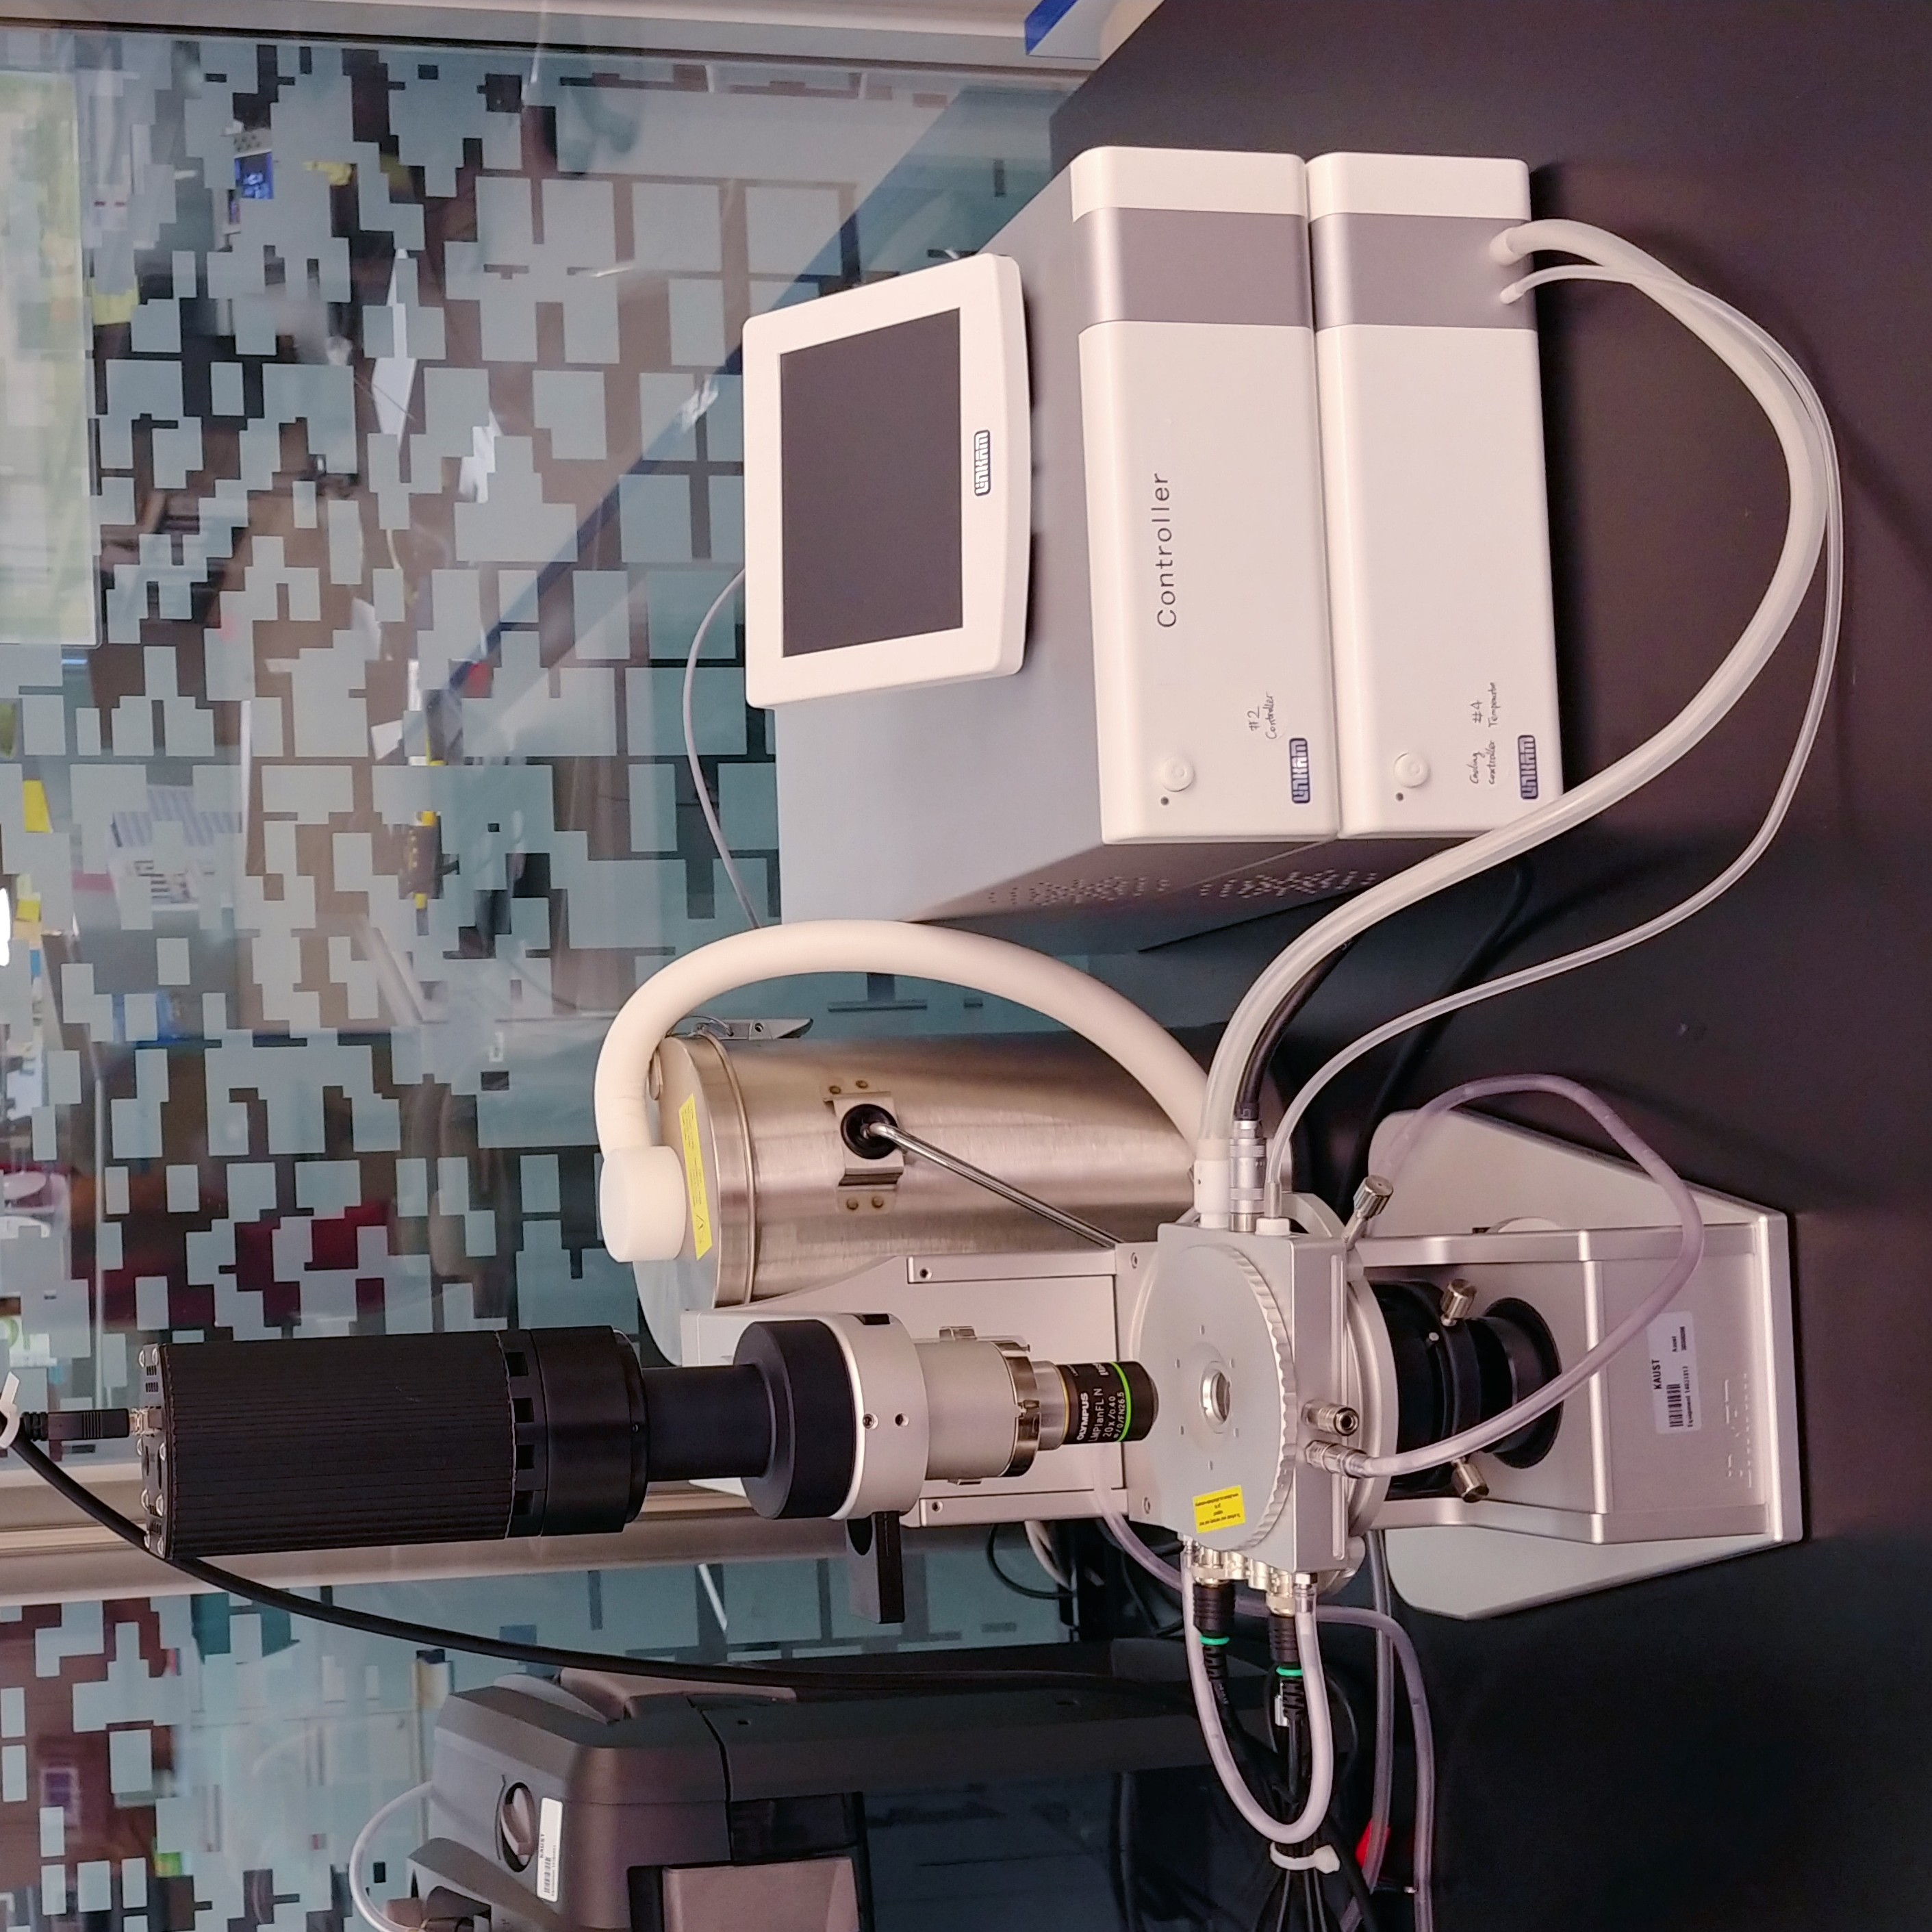 | 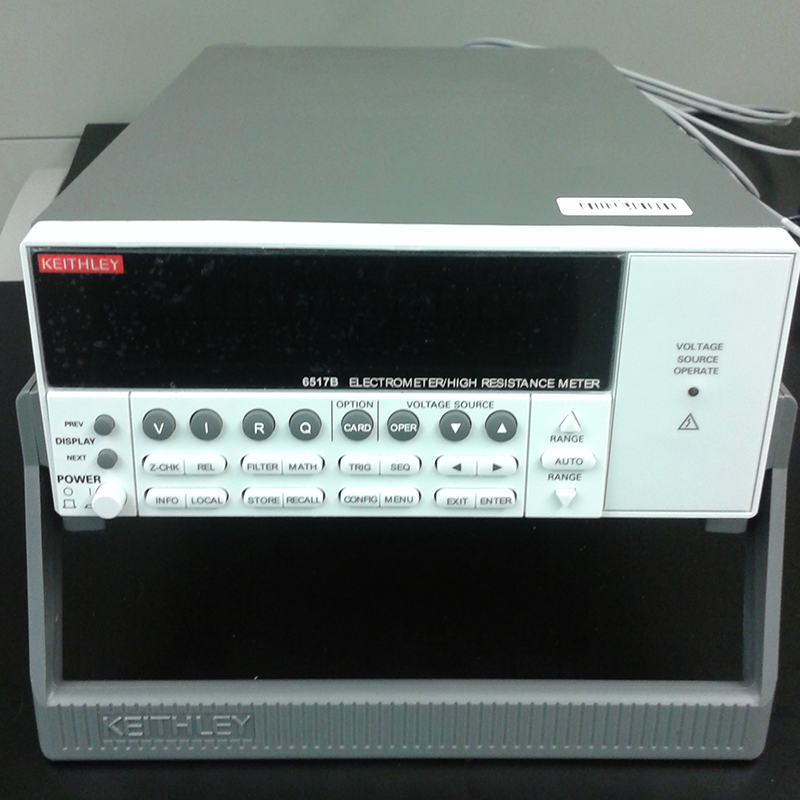 | |
Heating Stage | Electrometer/High resistance meter | |
Brand: Linkam Description: This system is able to control the temperature of a small sample between 77 and 873 Kelvin. The sample area is 22 mm, and the heating speed is up to 150 K/min. The system is equipped with electrical sensors and can be combined with microscope techniques. Link: Likam Heating Stage | Brand: Keithley Description: This electrometer and high resistance meter can capture a current of 10 aA, a charge of 1 fC, and an impedance larger than 200 TO. Link: Electrometer |
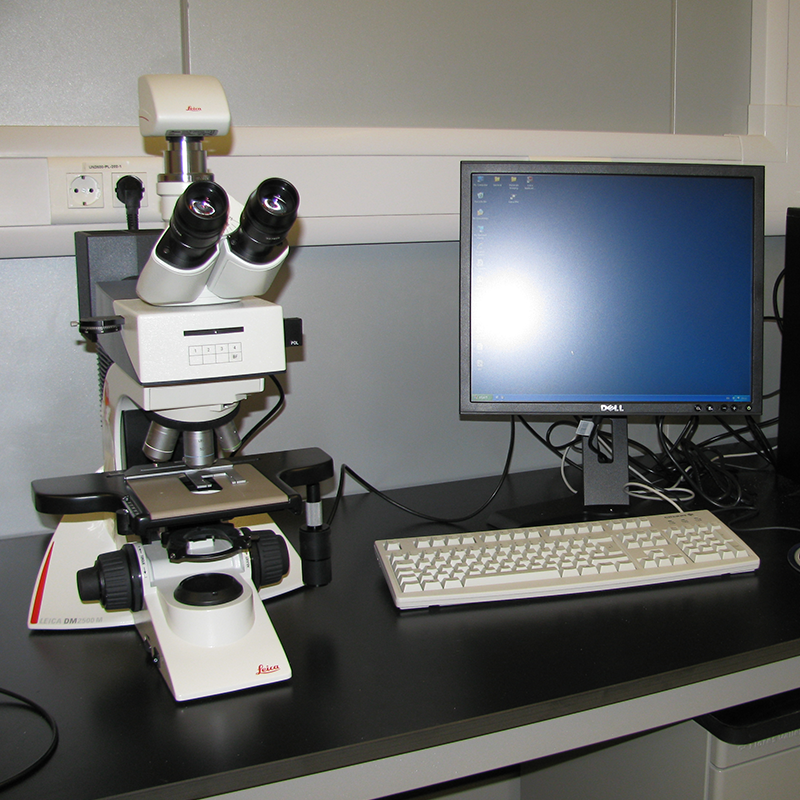 | 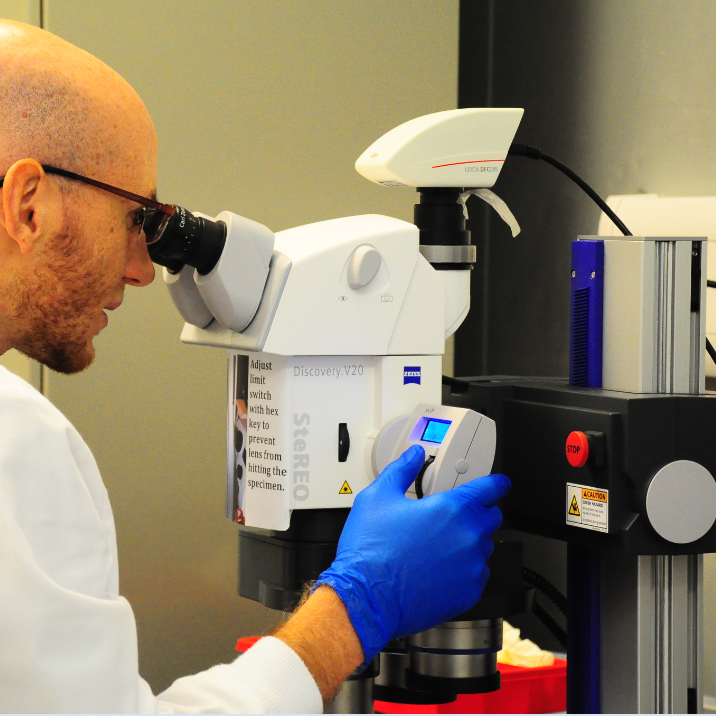 | |
Optical microscope | Optical microscope | |
Brand: Leica Description: This is a transmission light optical microscope designed for material analysis and quality control. There are different objectives and filters available, and a camera is installed to capture images. Link: Leica DM2500 | Brand: Zeiss Description: This transmitted or reflected light microscope is motorized. It sets itself apart from other systems that it captures 3D images with a maximum magnification of 345x. A camera is mounted on the microscope to capture the images. Link: Zeiss Stereo |
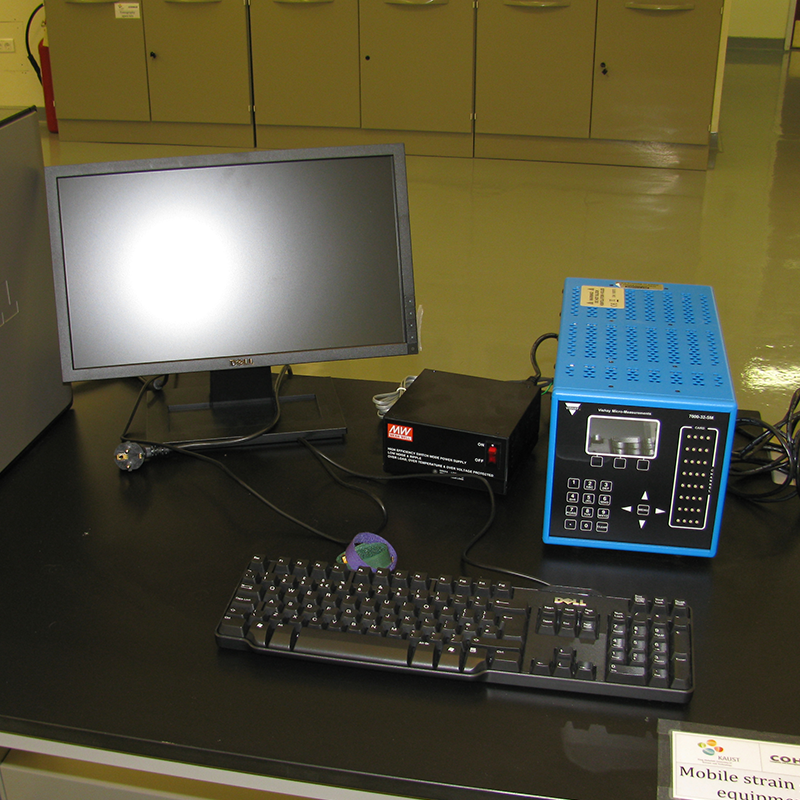 | 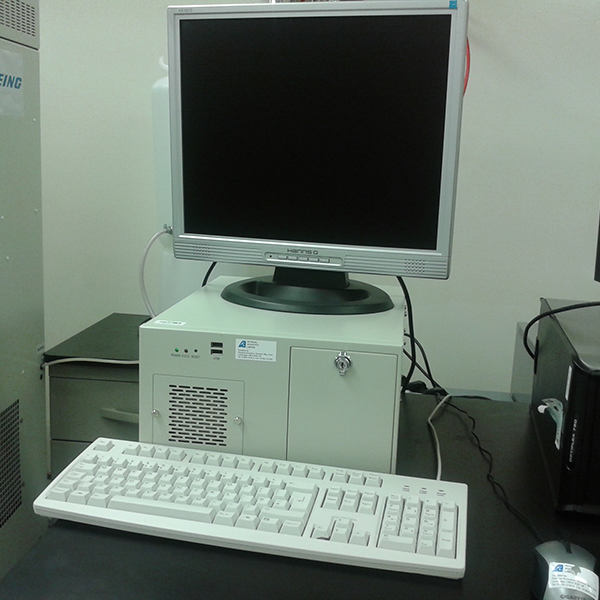 | |
Strain Gauge Scanner | Acoustic Emission Sensor Systems | |
Brand: Vishay Description: This 32-channel data acquisition instrument will convert the change in resistance of the strain gauges to strain. Its accuracy is ±0.05%, and a resolution of 0.5 microstrains. Link: Micro Measurements | Description: The AE system uses sensors attached to composite materials (under mechanical loading) to detect damage initiation and propagation based on their emitted noise. AE software is used to classify the damage based on its frequency band and threshold. |
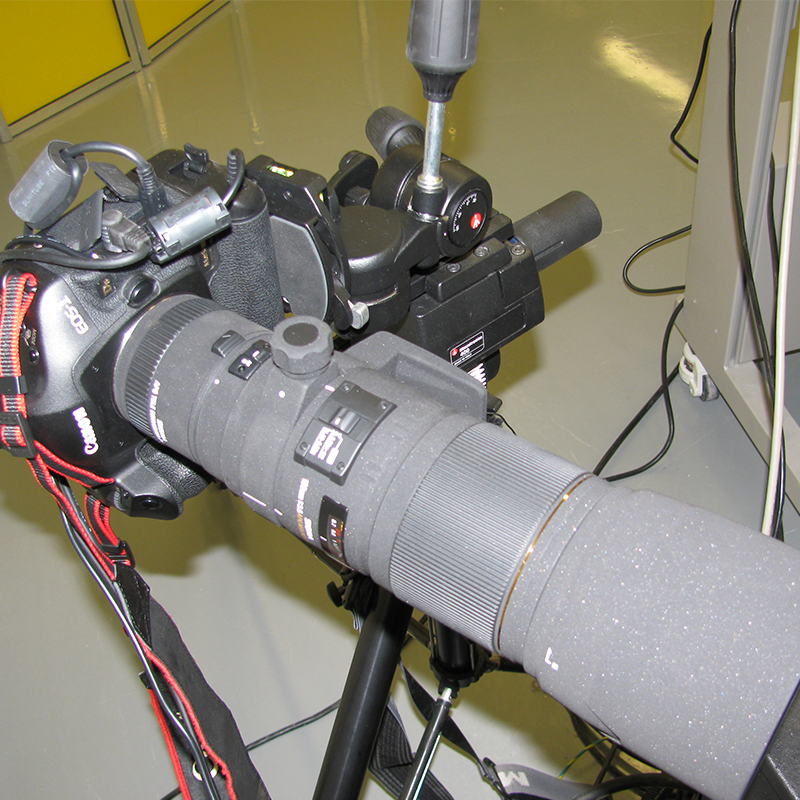 | 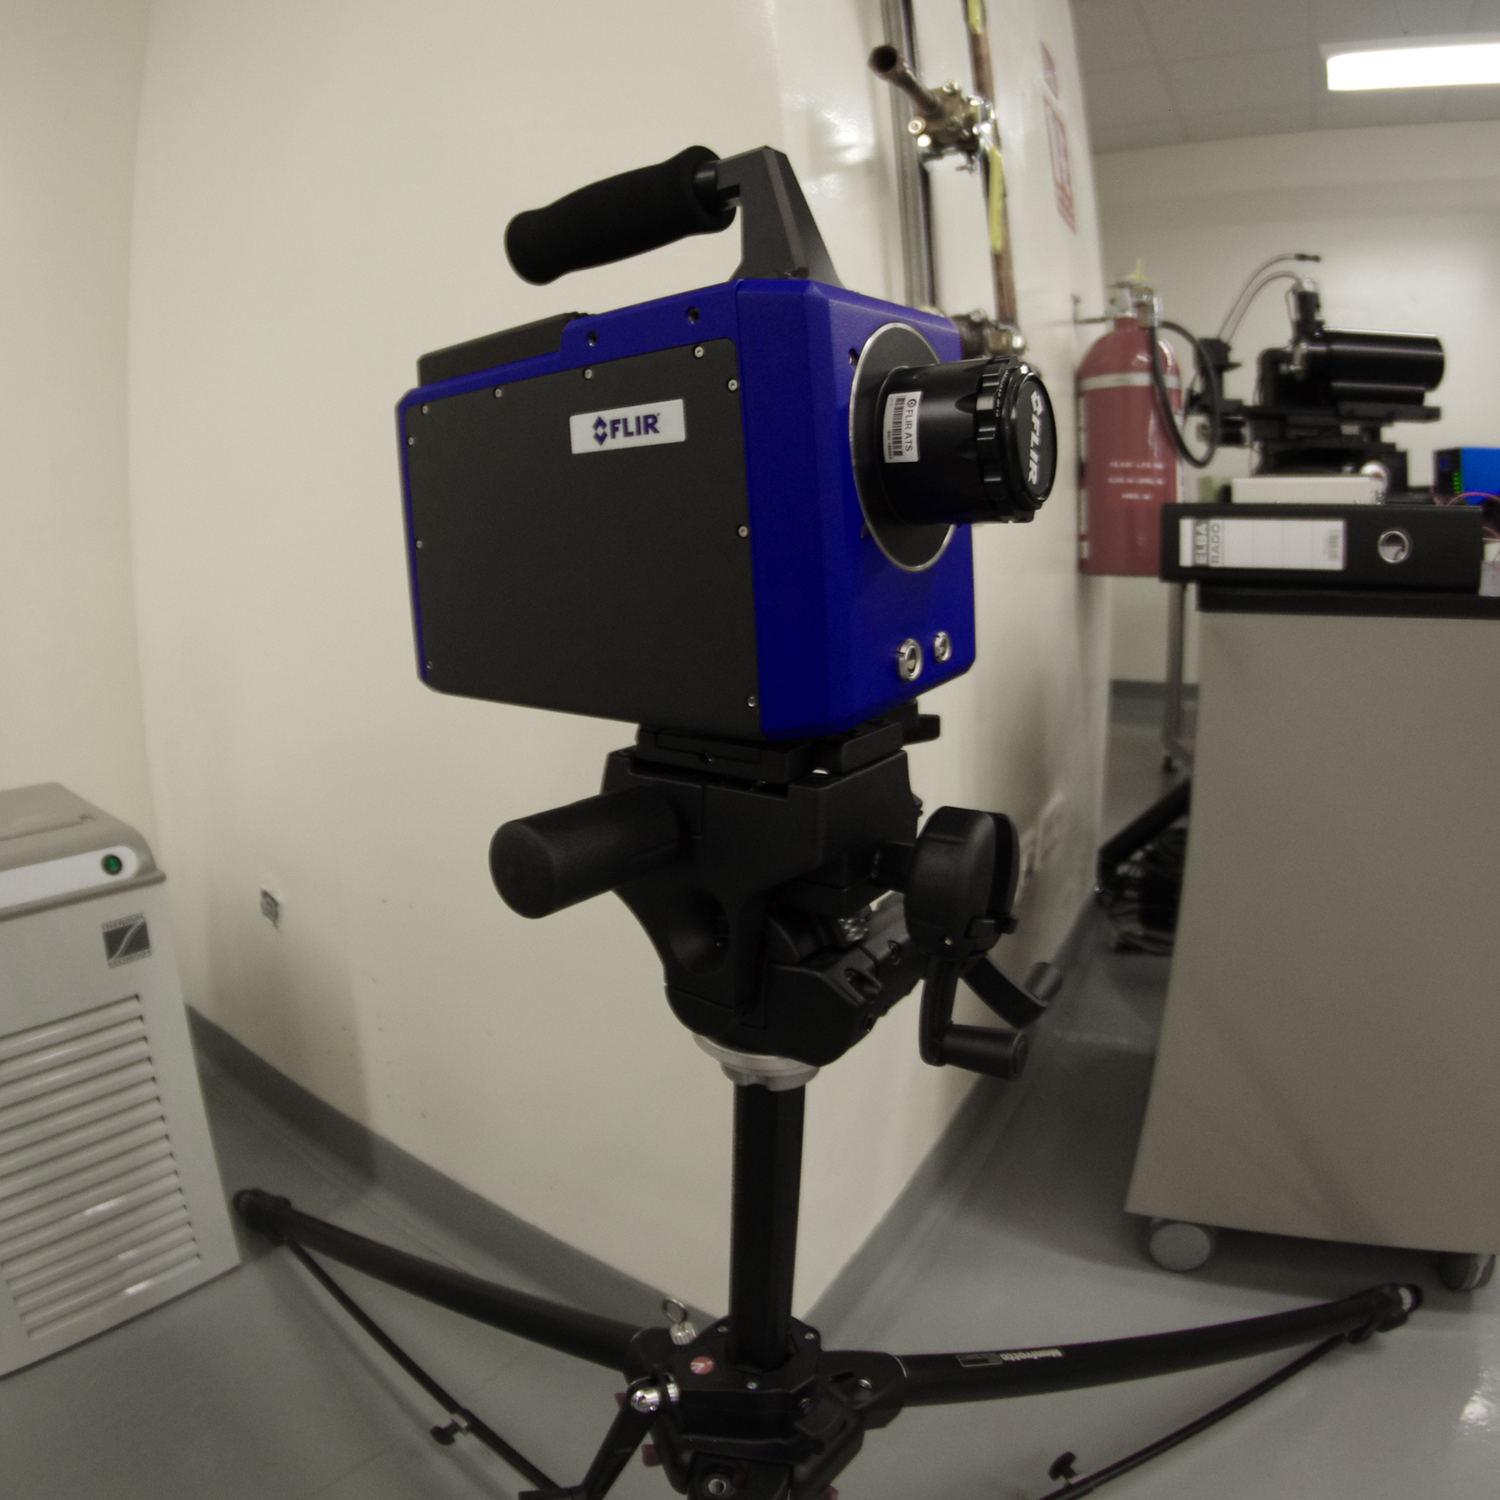 | |
Photo camera | Infrared camera | |
Brand: Canon Description: This 10.1 MP camera is used to capture stills during testing. It is, among others, used to capture the crack propagation of a DCB specimen by taking images of the side of the sample. Link: Canon | Brand: FLIR Description: This highly sensitive infrared camera is used to capture heat signatures and determine surface temperatures. The sensing range is adaptable depending on the calibration, with a standard range between 5ºC and 150ºC. Link: FLIR |
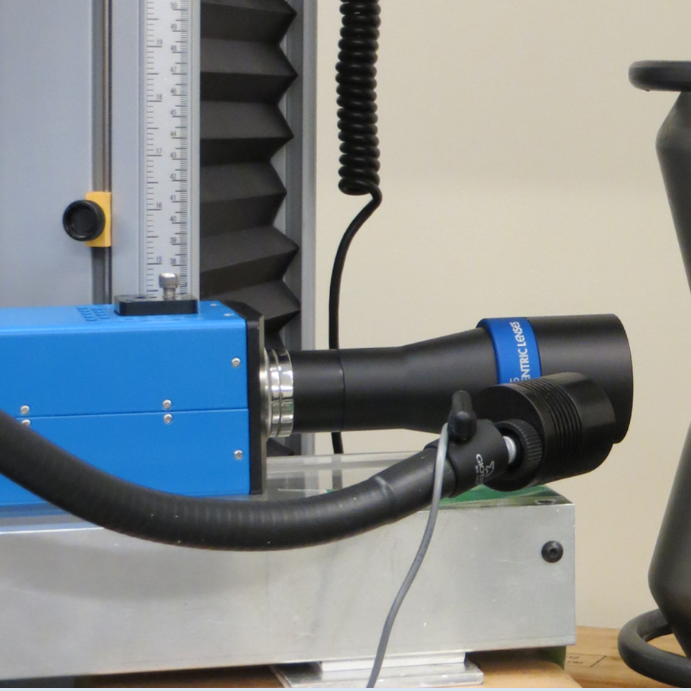 | 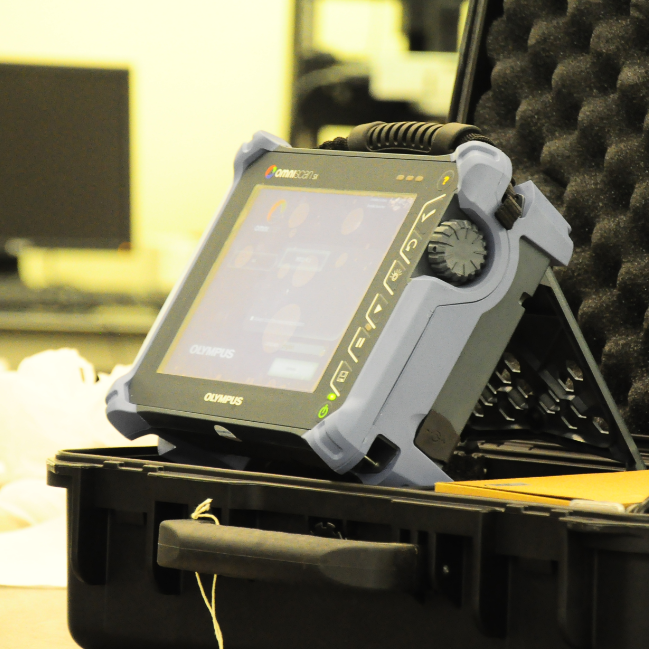 | |
Greyscale camera | Ultrasonic C-scan | |
Brand: PCO Description: This greyscale camera is used for Digital Image Correlation (DIC). The sensor is equipped with an actively cooled 12-bit ICX285AL sensor (1376 x 1040 pixels). The cooling is used to ensure low noise combined with high sensitivity. The bi-telecentric lens results in an orthographic projection on the sensor, which reduces distortion, making it applicable for accurate DIC gauging. Its magnification ranges from 0.128 to 1. Link: Sensicam | Brand: Olympus Description: This phased array flaw detector is an ultra-sonic scanner with a maximum pulsing rate of 6 kHz. It is used to detect flaws between composite layers. Link: C-scan |
 | ---windows-photo-viewer.png?sfvrsn=d1b48786_2) | |
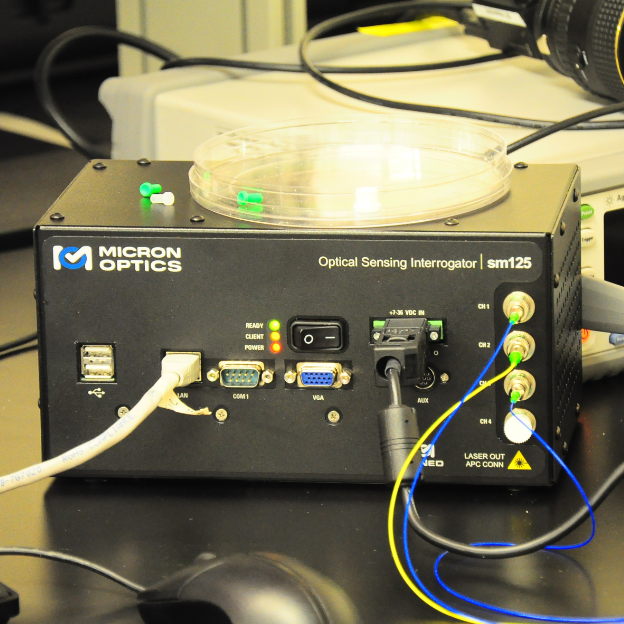
Internal strain monitoring | Internal strain monitoring | |
Brand: Micron Optics Description: This optical sensor interrogator is used for internal strain monitoring. This interrogator has 4 channels and scans the wavelengths from 1510 to 1590 nm with a frequency of 2 Hz. Link: SM125 | Brand: Micron Optics Description: This optical sensor interrogator is used for internal strain monitoring. This interrogator has 4 channels and scans the wavelengths from 1510 to 1590 nm with a frequency of 1 kHz. Link: SM130 |